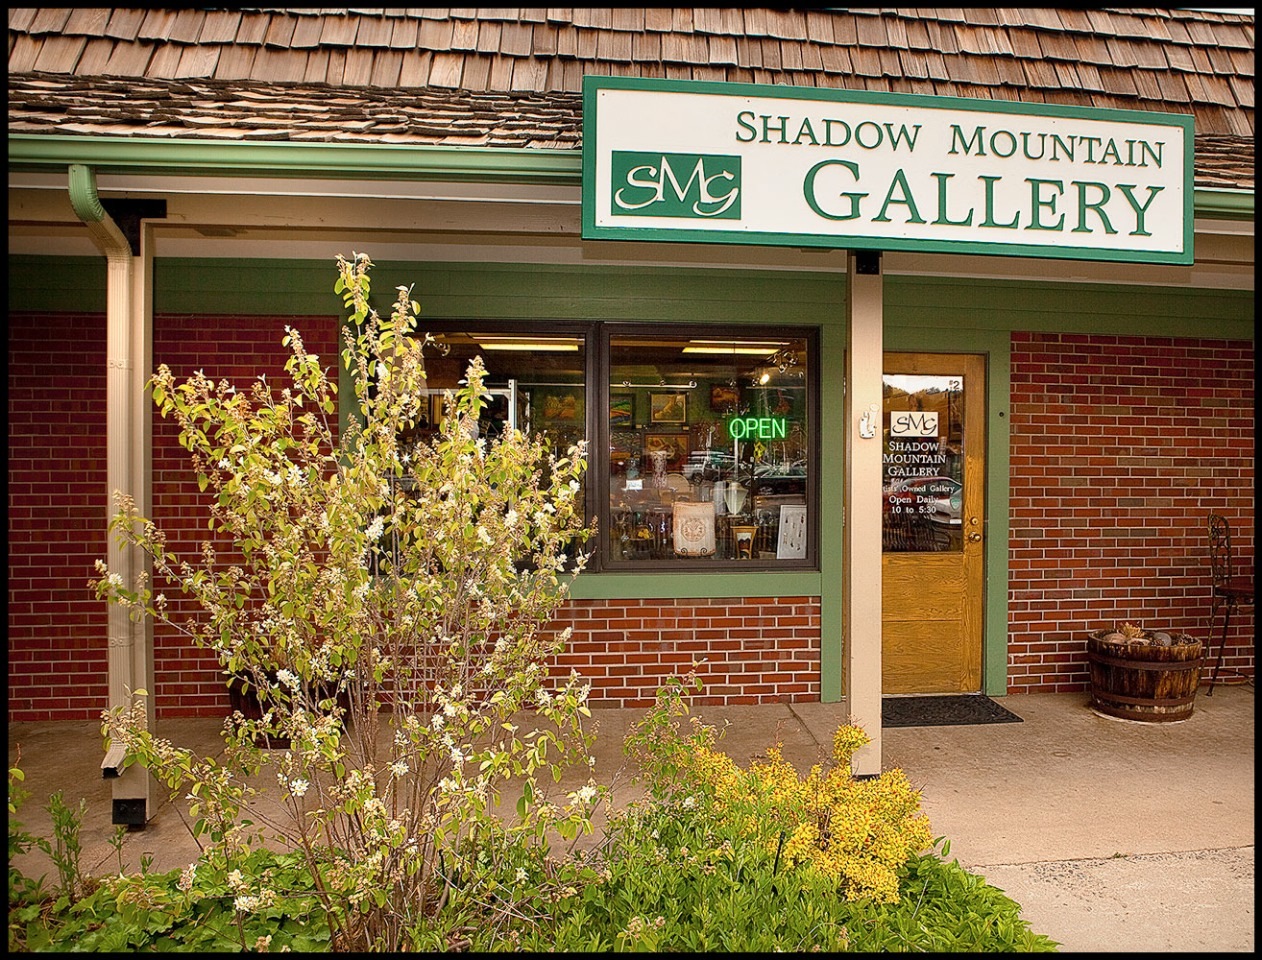
Shadow Mountain Gallery is a mountain area artists' owned business with a core group of 40 member artists who produce and exhibit individual and unique works representing a wide range of art media.
Discounts: Military
General Information: Hours of Operation: Daily 10-5:30